Manual Exposure Modes – Av/Tv/P/M

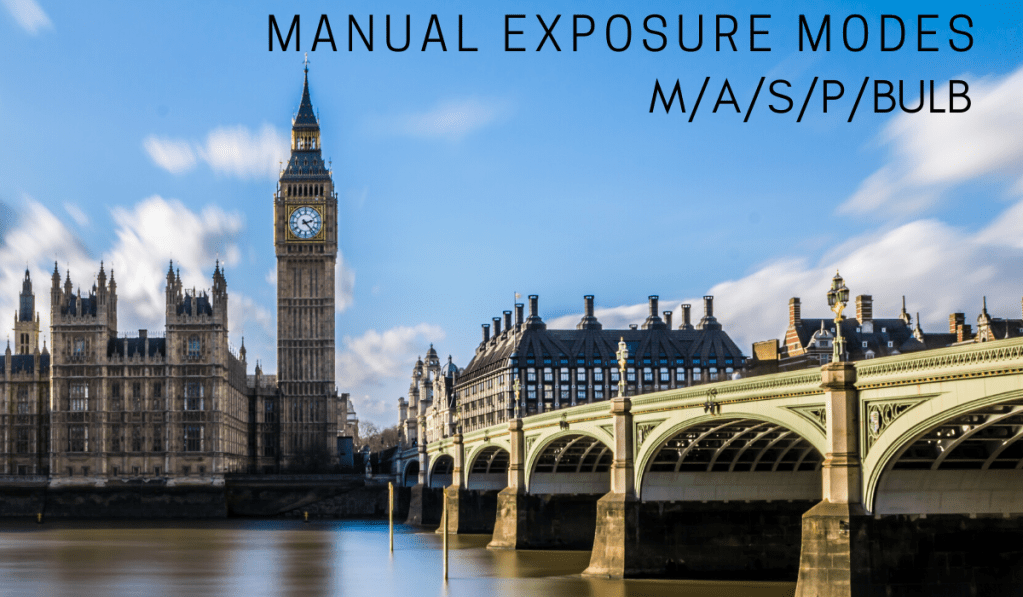
Manual and Automatic Exposure (AE) Modes

On most digital camera mode dials, you’ll find a variety of exposure modes, and are divided into two categories; one is preset modes like – sports, night, landscape, portrait, macro etc; other are the creative modes where the Exposure control is in your hand not on the camera.

Here will discuss about the four creative modes to control exposure as we want.

  1. Aperture priority AE mode (Av)
  2. Shutter priority AE mode (Tv)
  3. Program AE mode (P)
  4. Manual mode (M)

Aperture Priority (Av)

The aperture priority mode enables you to set the f-stop (aperture) and the camera will then automatically adjust the shutter speed to give the correct exposure. This mode is particularly useful in low-light conditions, where you want to set the brightest, widest f-stop in order to get the highest shutter speed and the minimum amount of movement. If more depth of field is needed, you can use a small f-stop to get as much of your picture in focus as possible.

Shutter Priority (Tv)

Using the shutter priority mode, you can set the shutter speed, and the camera will automatically selects the f-stop (aperture) to give the correct exposure. This can be especially useful when you’re shooting action pictures and you want to freeze the motion by setting a high shutter speed. By the same way, if you were photographing a waterfall and you wanted the water to blur, you could set a slow shutter speed and the aperture would adjust accordingly.

Note: These both modes Av and Tv assume that you have enough light to expose your pictures within the range of shutter speeds and apertures you’re using. And if you are not having very proper light or a wide aperture lens then you will have to master the Manual mode and take control of every parameter in your hand.

Program (P)

This setting leaves all the decision-making to the camera. The camera sets a combination of shutter speed and aperture so you don’t have to think about exposure at all. The other fine tune settings are still in your hand but this is moreover an Auto mode from creative zone of mode dial.

In some cameras this may be set up as subject programs such as “portrait,” “sports,” or “landscape.” If there’s not enough (or too much) light to achieve the effect you want then your camera won’t be able to work miracles on this mode. Even on this setting, check the LCD to make sure you are getting the images you want. And remember that you can still use auto exposure compensation to override the camera’s decision.

Manual (M)

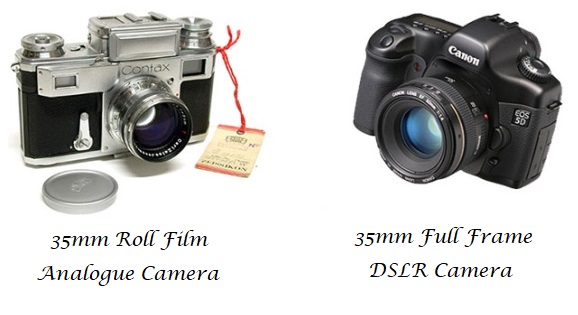
This mode allows you to manually set the shutter speed and the aperture independently of each other, referring either to the camera’s built-in exposure meter or to a handheld exposure meter. Professionals prefer to use manual exposure and handheld light meters. Once you will start playing with this mode, you will also enjoy this mode to make some creative photographs. This allows you to take multiple meter readings in various points of the subject frame. In this method the photographer has total control over the pictorial effects that various shutter speed and aperture combinations can achieve. When film was dominant, this method tended to be the exclusive to the professionals or the advanced amateur.

Auto Bracket Settings

Today, the immediate results of digital photography allows you to shoot test frame, have a look, make various adjustment to fine tune the final  output and get the right exposure. Most advanced D-SLR cameras have an auto-bracket setting or the HDR(High Dynamic Range) settings. This clever little feature sets the camera to take three pictures automatically, in rapid succession: one at the “correct exposure,” one overexposed, and one underexposed. I find this very useful when working quickly because I know it will give me a choice of exposures after the fact. By setting the camera to shoot one picture at the “correct” exposure—as the camera sees it—and two frames perhaps one f-stop either side, I’ll always end up with one frame that I consider to be the perfect exposure. You can change the increments of the brackets so that they are 1/3, 1/2, or 2/3 stop to either side of the “correct” exposure, depending on the camera model. On most cameras this facility works on all the automatic settings and in manual mode.

Exposure Compensation

If you find that your images consistently look better by underexposing by one stop, or by overexposing by half a stop, then use the exposure compensation setting to build this factor into the camera’s light metering. This you will come to know when you analyse your pictures on the computer screen that your all the images are over-exposed or under-exposed. So, accordingly you can cheat with the camera’s light meter to get your perfect exposure.

This  facility enables you to under- or overexpose by up to three f-stops or full shutter speeds. This is normally indicated on your camera by a scale from +3 to -3 with one/third stop increments. Most professional photographers I know use the exposure compensation feature to fine-tune the camera’s light meter. When you have time and the subject permits, vary your exposures so you don’t miss an important shot. Check the images on your computer screen and delete all the bad ones before you show anyone your work.

Controlling Light and Exposing Right

In the last post we came to know about What is right exposure and the factors affecting the exposure of a picture. To register a perfect tone image on your digital camera sensor, one must allow the correct amount of light to reach the digital sensor. The three factors that control the path of light are sensor sensitivity (ISO), shutter speed(SS), and aperture(f-stop).

When the film photography was dominant, exposure was an really important subject. The digital era has brought us light-years forward because we can now see the result instantly. Just as with film cameras, the DSLR takes into account the brightness of the frame, the contrast, the color of the picture and the area in focused. When automatic exposure is set, the camera calculates all the settings accordingly and much more instantly.

You can now review your pictures immediately after exposing, on the LCD screen on the back of your digital camera. If you are a beginner to photography, there are many other different aspects that have to be considered before you take each picture. How do I compose the picture? Is it in focus or not? What should be the background? Until all these elements start to become second nature, it’s good to keep your camera on auto-exposure. This will give you one less thing to worry about while you concentrate on all the others parameters. Then gradually, as you become more technically strong and have learned to hold the camera the right way, you’ll start to adjusting the small adjustments that are possible on your camera to get a perfect exposure as per your learning and experience.

On most of the DSLRs and high-end compact digital cameras, you have the option of setting the exposure manually(M-mode). This is time where we begin to play with the camera’s settings to get perfect exposure. Moreover we now start overexposing and underexposing the photograph as per our need.

  1. Camera Sensor Sensitivity(ISO)

In Film photography you need to change films if you want to change the ISO. Eg. If you are shooting at ISO100 film and suddenly the weather changed now you need ISO400 to get your desired image, So you need to change the other film of ISO400.

On the other hand in Digital photography, DSLR allows you to shoot a group of pictures, or even a single picture, at one ISO setting, then change the ISO setting on the same memory card and keep shooting. You can change the ISO as many times as you need.

  • Shutter speeds(SS)

Here are some basics about shutter speeds to begin with:

• If the light is really bad, try not to go below 1/60 second. If you must, hold your camera very still and don’t expect to freeze any action.

• For everyday pictures such as portraits and views, use speeds of 1/60 second to 1/250 second.

• To stop a racing car, or someone riding a bicycle, start with 1/1000 second.

NOTE: To avoid the camera shake, your shutter speed should not be less than the focal length of the lens you are shooting with.

  • Aperture (f-stop)

Here are some basics about Aperture/f-stops to begin with:

• As a general rule, f/5.6 gives a little bit of depth of field, provided the lens focal length isn’t too long, and is still wide enough to enable high shutter speeds.

• If it gets really dark, don’t be afraid to open your aperture to its maximum available aperture, for example, f/1.2 or f/1.8.

• If you need loads of depth of field, or you want a slow shutter speed, stop down to f/11 (when using a short lens) or f/16.

If your picture looks a little bit lighter or darker than it should, take another parameter to adjust the exposure. You can make your image lighter by increasing your exposure, or darker by decreasing the same. NOTE: f/8 can be used as a universal aperture perfect for any genre of photography.

Note: Your most of the lens usually gives the best sharpness at one stop down to the widest aperture available at your lens. eg. Lens with f/1.8 will give its best sharpness at f/2.8 not at f/1.8. anyone can experiment this and visualize the difference.

Transition from Analogue to Digital Era

A way long, the whole concept of photography has changed drastically. The whole system of negative roll has been taken over by the digital era. Here we will discuss about what has changed and what not.

Starting with the concept of photography, the basics are still the same. The whole photography techniques moved around the Aperture, Shutter and ISO. The things which changed from analogue to digital is the medium at which the photo is being captured i.e Negative rolls or Glass Plates to Electronic Sensors.

Earlier the Negatives of different size were available so as CMOS sensor now. Very common size of negative used and familiar to the general public is 35mm(24x36mm) negative film and the maximum size available known to professionals only were “20inches x 24 inches”, In between there were many different size of negatives available in past – 4x4cm, 4x6cm also called 120mm film, 5x7inches glass plates.

Now, for the same work DSLR Camera or any electronic camera have CCD/CMOS Sensors on which the image is captured. These sensors are also of different sizes and consists of a smaller unit called pixels, the more the pixels the more will be the details in the photograph. Each Pixel is made up of 3 color bars – Red, Green, Blue.

The Camera which have a sensor size equivalent to 35mm is categorised as a Full Frame Camera, and the camera those have a sensor size less than a full frame is known as Crop Frame Camera. There are 100s of camera models available from different brands with Crop Frame Sensor. There are limited no. of Full Frame Cameras which are now ruling the market from different brands. The Full frame camera comes under the Professional camera from each brand and are most used for photography purpose. There are now hybrid camera available in the market which offer both the operations of making video and capturing photos with professional settings and output.

The Electronic sensor available of maximum size in some commercial camera is 8×10 inch in LargeSense LS911 Camera.

Focussing System

The Focussing system has also been changed from manual to very fast & automatic. Earlier the focus and aperture settings were manually set from the different rings present on lens. Now the whole focussing system is converted to electronic and automatic system which gave a revolution in photography by giving birth to so many categories of photography specially where fast focus was necessary eg. sports photography, Wildlife photography. With Fast and Automatic focus system we are now able to capture any subject with more precise focus results in more sharp and detailed images.

Although the 35mm negative film was having a resolution equivalent to approx 40 megapixels of electronic image. So the details we also good in the analogue photography also, the only thing changed is lens are now more precise and fast.

Image stabilization

With the electronic era one more concept came into trend i.e. Image Stabilization/Vibration Reduction. This is the method through which the camera shake can be adjusted upto an extent. Now some lens are able to handle that upto 5stops Image Stablilization which means with this option if you are are to shoot a picture at a SS-1/2000 then you are now able to click the same with image stabilization ON at SS-1/60 also, the image will not have a shake in the final result. The Image Stabilization works for the Camera shake reduction not for the subject movement blurs or shakes. Most of the Zoom Lens coming into the market are generally having at least 1 or 2 stop of image stabilization.

Aperture

Earlier in analogue photography cameras the widest available aperture was 2.5 or nearby, but now a days in the electronic era, there are lens available in the market with an aperture of 1.1 as well.

Speed of Camera

The image taking capability of the cameras has drastically changed as of now the DSLR camera can shoot photos at upto 20 frames per second or more on continuously shooting the images.

So, this was all about the differences came in the equipments from Analogue to Digital Era. There is a lot more in detail.

For your queried you can ask your questions and follow/subscribe the blog to stay updated about the latest posts.

Thanks