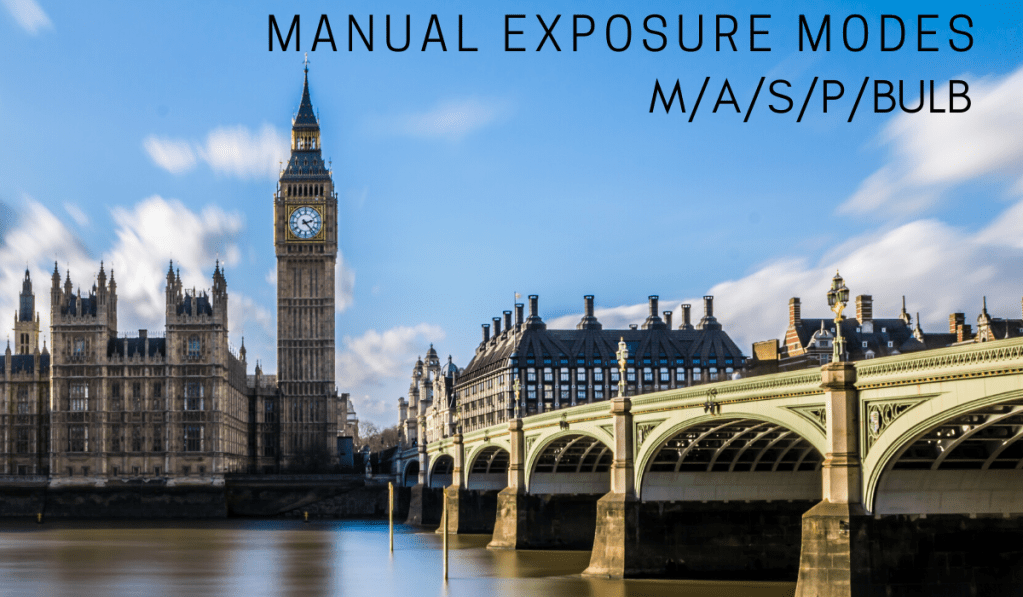
Manual Exposure Mode
In the manual exposure mode the whole camera settings are under your control. Manual mode gives you freedom to customise every single setting at the time of shooting – shutter speed, Aperture, ISO, White balance, Colour Temperature(Tint), Exposure bracketing, In-built Flash-light compensation, External Flash-light compensation, Image Size & Formats, Metering modes, Focus points – Single, Multiple or particular area on screen/viewfinder and many more.
If you want to become a pro or a serious hobbyist or just want to learn the creative photography techniques, you are to master all these above settings in order to get the desired photograph. So you need to shoot on Manual Exposure Mode Only.
There are some modules specially designed for you in order to practice and master the manual mode. Hope this will definitely work and give you wonderful results as you practice more…
Module 1 – Mastering Shutter Speed
Set your dial on Shutter Priority Mode (Tv/S). Stand at your favourite place at your home, most probably the window is the best place to experiment where you see people, vehicles moving around and kids playing in the street. Now you switch on your camera and start shooting with a shutter speed of 1/1000 then with 1/500 and so on…(1/250 – 1/125 – 1/50 – 1/25 – 1/8 – 1/4 – 1/2 – 1sec – 2 sec) upto shutter speed of 4 seconds. You can decrease no. of shots as you can take 5 shots only with the same shutter speed range (from 1/1000 to 4 seconds). In the Shutter priority mode only Shutter Speed of the Camera will remain under your control, rest all other settings will be on auto mode. So After capturing you will get an idea that “Why & Where to use faster shutter speeds(e.g 1/200 or as less as 1/8000 of a second) and Slower shutter speeds(e.g more than 1 second).
You will find Slower the shutter speed will result in less static subjects in photo as you can see the things which are static, and could not see the things in motion(blurry lines).
Second practical you can do with water streams.
You can shoot water stream, outside if possible or just start with a water tap at your home.
While shooting at faster shutter speeds you will see the crystal clear image of the even water droplets coming out of tap. And while shooting at slower shutter speed you will see some milky white shades of water and all other subjects very much clear in the photograph.
Module 2 – Mastering Aperture
For Understanding the work of aperture in a photograph you need to know whether you want Shallow Depth of Field(blur background) or Narrow Depth of Field(sharp background).
Or in simple words we can say the depth of the area in sharp focus is depth of field.
Example – Take the lens with the widest available aperture either it’s a kit lens with 3.5 or a 50mm with 1.8. Take one photo with the widest available aperture and compare the same frame with an aperture of atleast 22 or 16. In the photo with higher f-stop no. you will observe more area in sharp focus, and in the photo with the lower f-stop no. you will observe more blurred or defocused area.
You can practice these photos at any place whether it’s crowded or at table with different set of cups or at garden with flowers or landscapes. You can clearly see the difference in sharp focused area with changing the aperture value.
You can also use the aperture to control the amount of light coming into the camera.
For any questions please comment.