
Before giving the correct exposure to your pictures it is important to know what a correctly exposed image looks like. A correctly exposed digital picture is a file that shows a full range of tones, from deep shadows to bright highlights, with details across the entire image and all the tones.
One should be able to see some detail in the dark shadow areas while at the same time retaining detail in the brighter highlight areas. Providing you get this, you can decide later whether you actually want the full tonal range to appear when you print/publish the image or not. If you could not ensure that you have the full tonal range while shooting, there is little you can do about it later in some photo editing software.
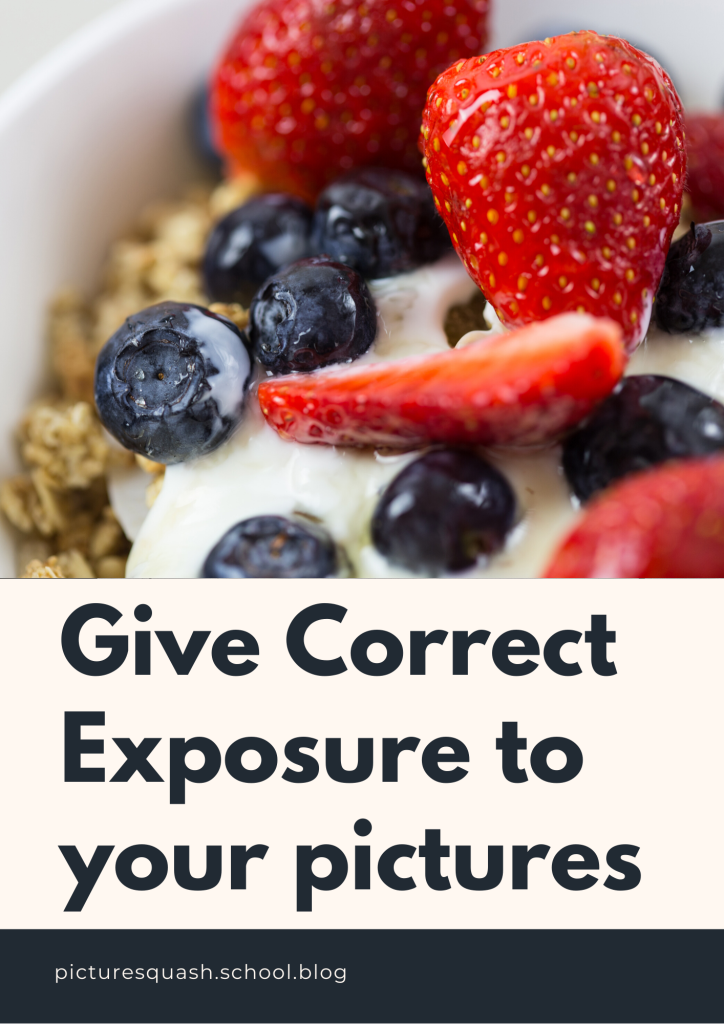
The picture with the shadows can be fine-tuned to great extent but once if the picture with more highlights or burns the details can’t be recovered from the same.
This last point is more crucial when shooting in JPEG format. When shooting in RAW mode, getting the right exposure is a more easier process than it is when you shoot color negative film because you can correct the color in your computer later.
If you shoots RAW then it’s easy for your to correct the image’s White Balance, Brightness, Contrast, Sharpness, Color Balance, Exposure and many more parameters. Whereas JPEG gives less freedom to play with all the above parameters.
Now, we will explain some terms being used in photography & you will need to know. Then we can learn in greater detail about each one.
Exposure is the amount of light, controlled by aperture and shutter speed, that reaches the image sensor. Now ISO is also added to control the sensitivity of light.
Shutter Speeds is the measure of the duration or length of time that the shutter stays open. The longer the shutter stays open, the more light will be allowed to reach the image sensor.
Faster shutter speeds freeze the action and usually require more light and a larger aperture (smaller f-stop number).
Slower shutter speeds enable pictures to be taken in lower light with a smaller aperture (larger f-stop number).
Aperture or F-stops are the measure of the size of the opening, or aperture, in the lens. Remember, the larger the f-stop number, the smaller the aperture and lesser light to the sensor.
The smaller the f-stop number, the larger the aperture and the more light the lens will let through to the image sensor.
ISO – Camera Sensor Sensitivity. Earlier in the negative film the term ASA(American Standards Association) was used which was changed to ISO(International Organization for Standardization) later in 1987.
ISO helps camera image sensor to become more sensitive to light with increasing ISO range. Usually it starts from 100 and go up to 12,800. But now a days in some high end Cameras it starts from as low as 50 and can go upto 3million, which is required and helpful for low light conditions only. Generally a photographer uses from 100-1600 ISO range only.
One more fact to add is, the lower the ISO the better the quality of photograph in terms of noise and details. And higher the ISO the more will be the noise in the photographs with less amount of fine details.
So, keep on experimenting and improve your photography. If you like the post then follow us on Instagram, Twitter, Facebook.
